Cookie Decorating
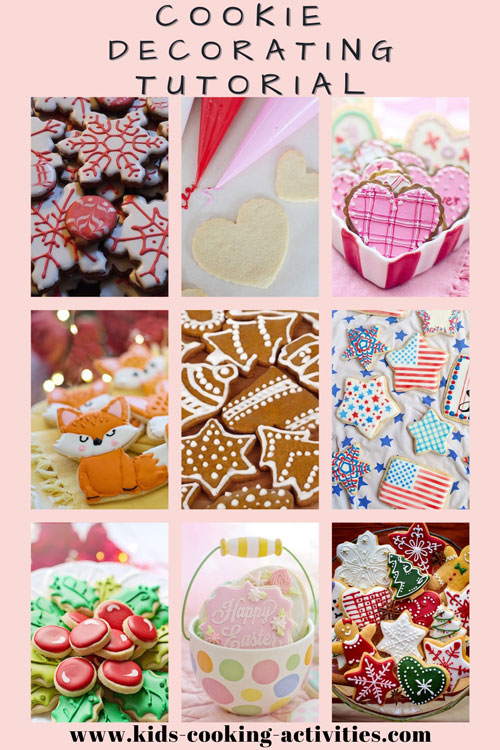
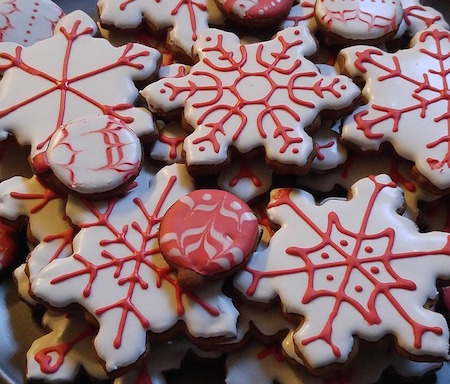
Learn how to decorate your cookies with royal icing for a smooth
frosting look and added details.
Cookie Decorating Icing Recipe
Some royal icing recipes call for egg whites that you don't cook. This works well for non-edible items like making sugar eggs or a gingerbread house you aren't going to eat. The recipe below uses meringue powder instead of egg whites.
- 3 Tablespoons meringue powder
- 4 Cups powdered sugar
- 6 Tablespoons warm water
- 1/2 teaspoon vanilla extract
Beat in mixer until forms stiff peaks which will be about 10
minutes. If you need to thin your icing add 1 teaspoon water.
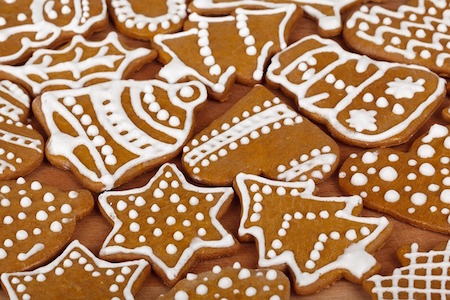
Cookie Decorating Using the Color Flow Method
Thanks to Joanne Clifton (Fredericksburg, Texas) for sharing with us how to use the color flow method.The color flow method is so easy! You take 1/4 cup plus a tsp of water and add 4 cups of powdered sugar, and 2 tablespoons Meringue powder and beat it on low speed for 5 minutes. While working with parts of it, keep it covered with a damp cloth so it doesn't harden on you.
Use it full strength to outline your design. Make sure your design is on a flat surface and free of wrinkles, covered with parchment paper or wax paper. Let the outline dry for at least two hours. After outlining with whatever darker color you prefer, add color to additional amounts and thin about 1/4 cup with 1/2 tsp at a time of water till it flows easily.
Let each color dry till crusted before adding another. Let entire project dry at least 24 hours. If in a hurry, you can dry in half the time with a heat lamp. Move the dried piece to the edge of the table and slowly remove the parchment or wax paper.
Of course the bigger the area that is done, the more additional time, it may take to completely dry it. I usually make them up a few days to a week in advance to make sure that they have dried totally. It is easy to do, just needs patience for drying, but well worth the effort.
Find our cookie recipes here.
Examples of Color Flow Icing on Cakes
Thanks to Joanne Clifton
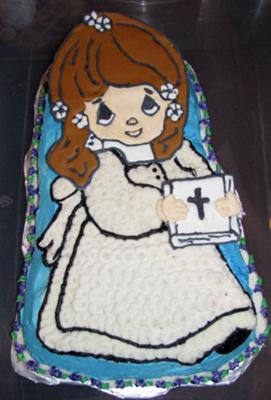
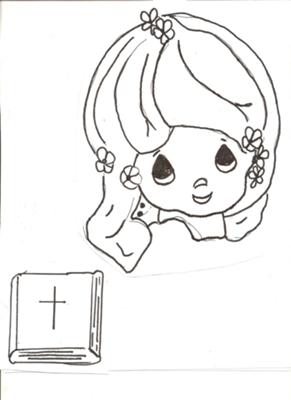
Cut out the area and placed it on the pan to be sure it was the right size and then placed it on the back of a cookie sheet, covered with parchment paper and used the recipe for color flow- 1/4 cup plus one tsp of water, added to 4 cups of powdered sugar and 2 tbsp of color flow or meringue powder and beat it 5 minutes on low. It makes about 2 cups of mixture.
Colored about an eight of a cup black and used a number 3 round tip to outline the picture. Waited 2 hours for outline to set. Kept the mixture covered with damp towel to keep it from hardening.
Mixed approx 1/4 cup with desired color and then added 1/2 tsp water at a time to get the consistency to flow out of the pastry tube and into the outlined areas. Waited again between colors for it to at least crust, so it wouldn't run black into flesh tones, etc.
When I was through with the picture, waited almost 48 hours for it to be completely dry. When it was ready, I made the Precious Moments cake and designed it to be a little girl making her first communion and when through, added a border of star tip flowers with number one round tip centers.
I forgot to say that I free handed the book, flowers in her hair, and completed it in color flow and iced her hands to hold the book.
~You can use a heat lamp to speed up the drying process. Usually I let 2 hours go by between the outline and adding the thinned mixture, but found with the heat lamp 30 min was sufficient. Instead of a day to let the whole design dry, it took only a few hours with the heat lamp.
Related Cake Decorating Pages:
~10 Fun Ideas, ~Recipes, ~Piping Techniques, ~Jar Cakes, ~Cake Party, ~Decorating Borders, ~Decorating Techniques, ~Color Batter, ~Buttercream Transfer, ~Fondant Decorating, ~Fondant Recipes, ~Decorating Patterns, ~Chocolate Transfers, ~Cookie Cake, ~Cookie Decorating, ~Color Flow Decorating, ~Cake Pops, ~Push Pops, ~Fun Cupcake Ideas, ~Wrappers, ~Cupcake Bouquet, ~Cupcake Cakes, ~Tree Stand, ~How to make cupcakes, ~Frost Cupcakes, ~Giant cupcake, ~Cone Cakes, ~Heart Cupcakes, ~Cream Filled, ~Supplies
Follow Kids Cooking Activities


