Menu
Fill Cake Layers
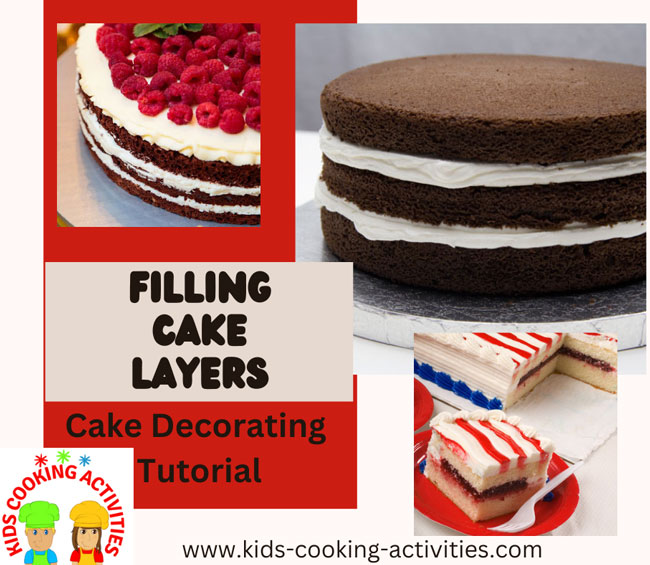
The most common way to fill cake layers is with icing or frosting. This method is used when stacking two or more layers of the same size. The icing between the layers helps secure the layers in place. It also adds more flavor to your desserts.
Kids Cooking Activities Teaching Materials
Make teaching easier with our activities and recipes compiled in theme sets and books with an easy to read formatPerfect for teaching!
~This post may contain affiliate links and I'll earn a small commission if you shop through them. There is no extra cost to you. This is how we help support our family and continue to bring you amazing content. To learn more see the affiliates disclosure here.~
Filling Cake Layers-Learn To Ice Between The Layers
An alternative to using frosting or icing is using
flavored
filling between layers. This is a good way to blend flavors
in and can easily make a gourmet flavored dessert. We'll teach you
here how to use frosting to layer.
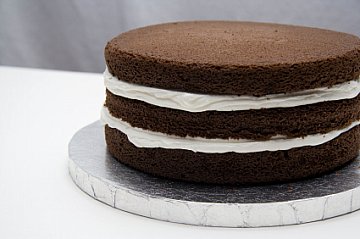
How To Fill your Cake Layers
- Using a metal spatula, place a good sized glop of icing on the
top of your first layer.
- Spread the icing over the top, being careful not to lift your
spatula as you go. This will help not to create crumbs.
- Use a simple back and forth motion to spread the icing until
the top is covered.
- Get the icing as even as you can. You want the icing layer to be about 1/4" thick.
How to Fill Cake Layers
Flavored Fillings Between Layers
Using flavored filling to fill a cake is a great way to give a unique and flavorful twist to your desserts. Fruit flavors are used most often, but there are a variety of other flavors that can be used also. Some popular filling flavors are:- raspberry
- strawberry
- Vanilla Cream Filling
- Peanut Butter Filling
- Chocolate Filling
- Coconut Filling
- Maple Filling
- Mint Filling
- Fresh chopped strawberries or other fruit
- Fruit preserves or jam
- Lemon
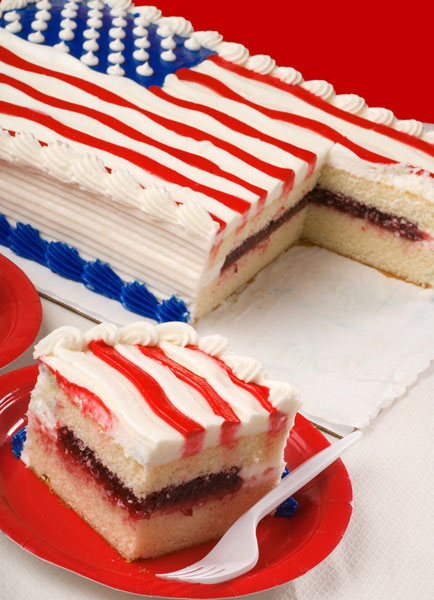 An
example of a flavored filling
An
example of a flavored fillingWhat you will Need to Fill
- 2 baked layers
- metal spatula
- pastry bag (10" or larger)
- coupler
- frosting (the same frosting you plan to ice the outside with)
Drop your coupler into your pastry bag. We are going to use the pastry bag and coupler without a pastry tip to make a "dam" for the filling.
Fill your icing bag with frosting.
Now, we are going to make a "dam" for the filling. This will help keep the filling from oozing out the sides.
Using your pastry bag with coupler only or a large writing tip, squeeze a ring of icing around the outer edge of your layer. Just do this one time around the edge.
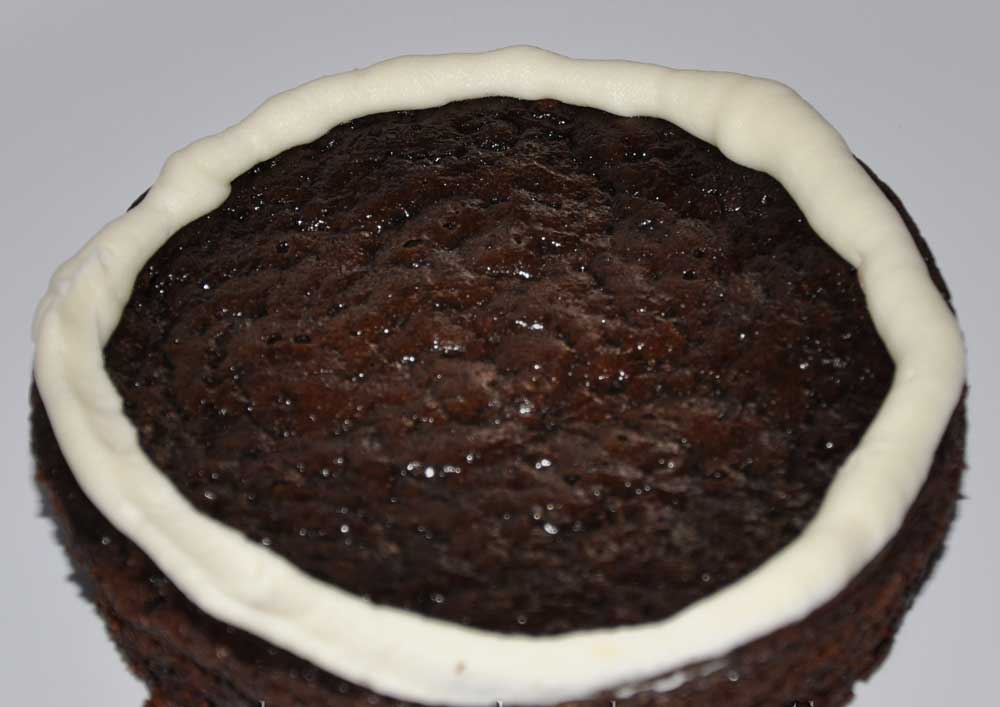
Next, we are going to add the filling. You want your filling to be no more than 1/4" thick. Place the filling in the center and spread it outwards towards your "dam".
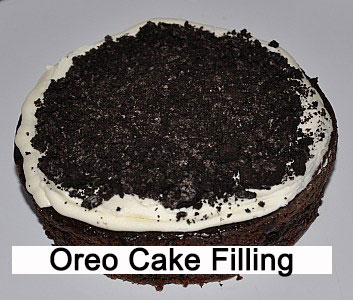
Make sure you spread it evenly. Again, you only want it about 1/4" thick. Any thicker and the filling will most likely squish out the sides.
You are now ready to place your other layer on top. Continue with each layer.
~It is important not to skip this step or your filling will ooze out the sides while you are trying to frost the sides.
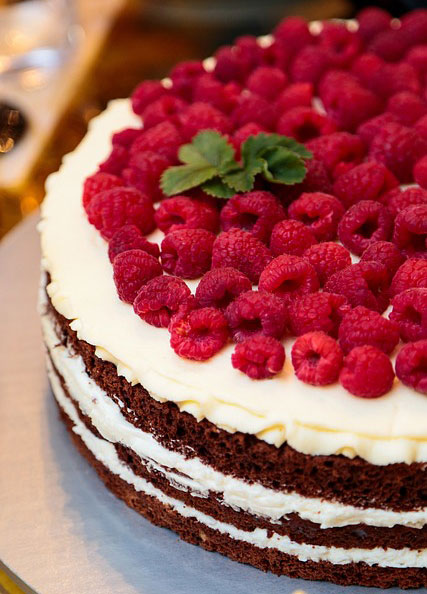
Video Tutorial - Fill Cake Layers
Here are some ideas on how
to decorate your cake with the cake decorating techniques.
Back
To Decorating Ideas
Follow Kids Cooking Activities


